
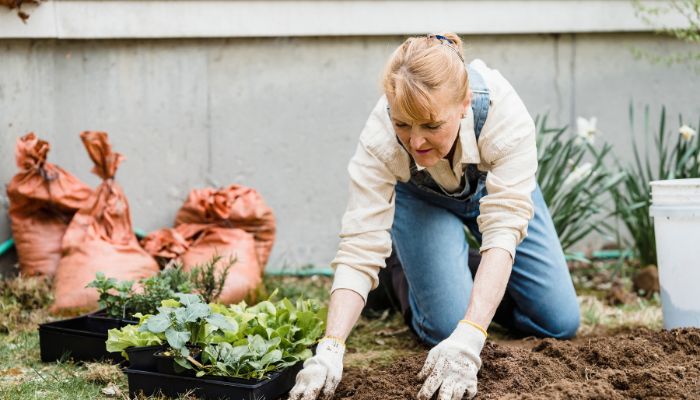
Recycling plastic bottles into functional planters is an eco-friendly and cost-effective way to green up your home or garden. PET bottles are durable, lightweight, and transparent—ideal for small-scale gardening, seed starting, and vertical displays. In this guide, we’ll walk through choosing bottles, preparing them, planting, and maintaining your DIY PET bottle garden.
Why Choose PET Bottles for Planters
- Environmental Impact: Diverts plastic from landfills and reduces demand for new containers.
- Transparency: Allows easy monitoring of soil moisture and root health.
- Versatility: Bottles can be hung, stacked, or placed on shelves; sizes range from 500 ml to 2 liters.
- Cost Savings: Uses readily available household waste, eliminating the need to purchase pots.
Materials and Tools You’ll Need
- Clean PET Bottles: Rinse thoroughly to remove labels, residue, and odors.
- Sharp Cutting Tool: A utility knife or scissors with a fine blade.
- Drill or Nail: To create drainage holes.
- Sandpaper: Smooths cut edges for safety.
- Twine, Wire, or Hooks: For hanging bottles.
- Potting Mix: Well-draining soil blend suitable for your chosen plants.
- Plants or Seeds: Herbs, succulents, leafy greens, or flowering annuals.
- Paint and Brushes (Optional): Weather-resistant acrylics for decorative finishes.
Selecting and Preparing the Bottles
- Choose Bottle Size:
- Small (500 ml): Ideal for succulents, herbs, or small seedlings.
- Medium (1–1.5 liters): Suitable for basil, parsley, lettuce.
- Large (2 liters+): Accommodates larger vegetables like cherry tomatoes.
- Cutting the Opening:
- Mark a rectangle or oval on the side facing sunlight when hung.
- Carefully cut along the marked lines, leaving at least 3–4 cm of margin on each side to support soil.
- Save the cap; it can cover drainage holes to slow water flow if needed.
- Creating Drainage:
- Puncture 3–5 holes in the bottom using a drill or heated nail.
- Sand sharp edges around cuts and holes to prevent injuries.
- Optional Decoration:
- Paint the exterior with bright colors or patterns. Use acrylic paint and seal with clear varnish for outdoor durability.
- Personalize with stencils, stickers, or decoupage.
Assembling Your PET Bottle Planter
A. Single Hanging Planter
- Attach Hanger:
- Drill two small holes near the neck for wire or twine.
- Tie the material securely, ensuring even balance.
- Add Soil:
- Fill about one-third with potting mix.
- Place a layer of small pebbles or perlite at the bottom to improve drainage.
- Planting:
- Gently insert seedlings or seeds according to spacing guidelines.
- Top up with soil around roots or cover seeds lightly.
- Hang:
- Choose a sunny spot such as a balcony railing, fence, or porch.
- Ensure planters hang high enough to swing freely and receive airflow.
B. Vertical Stacked Garden
- Bottle Orientation:
- Cut openings on alternating sides so the bottle neck of one pours into the base of the next.
- Connect Bottles:
- Use zip ties, strong twine, or metal rods to secure bottles in a vertical column.
- Leave gaps between bottles for airflow and access.
- Irrigation Consideration:
- Water from the top; excess will trickle down.
- Monitor lower bottles to prevent over-saturation; adjust drainage caps as needed.
C. Ground-Level Bottle Beds
- Layout:
- Partially bury horizontal bottles in soil with openings on top for planting.
- Soil Preparation:
- Dig a trench and nestle bottles side by side, leaving the front cut-outs exposed.
- Planting and Maintenance:
- Plant small herbs or flowers; water directly into bottles.
- Easy to cover with plastic for mini greenhouse effect on seedlings.
Choosing the Right Plants
- Herbs: Basil, mint, thyme, oregano—quick-growing and shallow-rooted.
- Leafy Greens: Lettuce, arugula, spinach—harvest by cut-and-come-again method.
- Succulents: Echeveria, sedum—for single small-bottle planters.
- Flowers: Petunias, nasturtiums—add color and attract pollinators.
- Vining Plants: Strawberries or small peppers—best in hanging or stacked setups.
Watering and Feeding
- Moisture Monitoring: Transparent bottles let you see soil wetness. Water when the top 1–2 cm of soil dries.
- Drainage Caps: Loosen or tighten bottle caps on drainage holes to adjust water retention.
- Fertilization:
- Use a diluted, water-soluble fertilizer every 2–4 weeks for vegetables and herbs.
- Succulents benefit from a low-nitrogen, cactus-specific feed once in their growing season.
Maintenance and Troubleshooting
| Issue | Cause | Solution |
|---|---|---|
| Slow Drainage | Clogged holes or compacted soil | Clear holes; mix potting soil with perlite |
| Algae Growth on Walls | Excess moisture and light exposure | Paint interior or wrap bottles; reduce watering |
| Plant Wilting | Under- or overwatering | Adjust watering frequency; ensure proper drainage |
| Uneven Sunlight | Bottles shading each other in stack | Rotate column; stagger bottle positions |
Seasonal and Long-Term Considerations
- Winter Protection: Move hanging planters indoors or wrap the entire structure with frost cloth if temperatures drop below 5 °C (41 °F).
- Renewing Soil: Replace topsoil annually to replenish nutrients and prevent compaction.
- Bottle Replacement: PET bottles degrade in UV light; expect to replace planters every 1–2 years to avoid cracking.
Creative Variations
- Color-Coded Gardens: Paint bottles in different hues to identify herbs or stages of growth.
- Self-Watering Wick System: Insert a wick through the cap to draw water from a reservoir below.
- Hydroponic Adaptation: Seal bottles and use nutrient solution for water-based growing, ideal for lettuce and herbs.
Embracing Plastic Recycling in Gardening
By upcycling PET bottles into versatile planters, you reduce plastic waste, save money, and cultivate a unique garden display. These simple yet effective projects demonstrate how innovative re-use can transform everyday items into sustainable gardening solutions. Enjoy your PET bottle planter garden—a testament to creativity, resourcefulness, and environmental stewardship.